ลายเซ็นดิจิทัล
ลายมือชื่ออิเล็กทรอนิกส์
ลายเซ็นดิจิทัล (มือถือ)
วิธีสมัครการใช้งาน
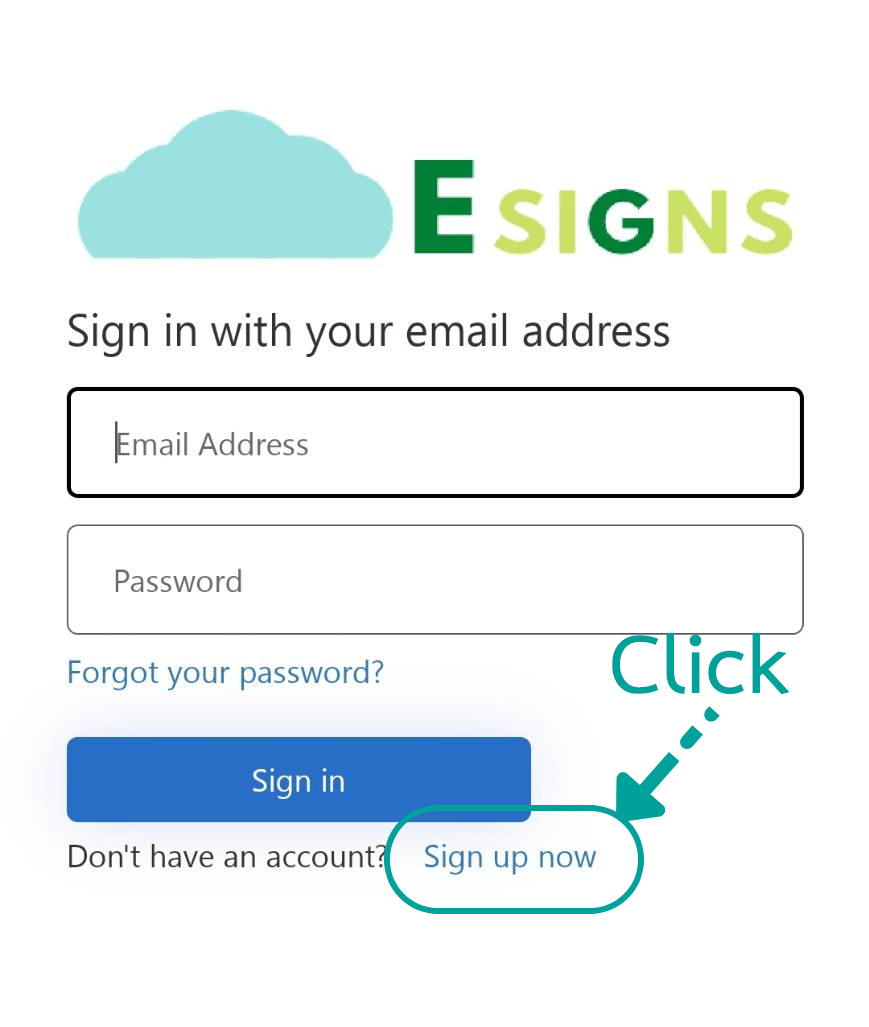
1. เริ่มต้นการสมัครใช้งาน
2. สร้างบัญชีผู้ใช้
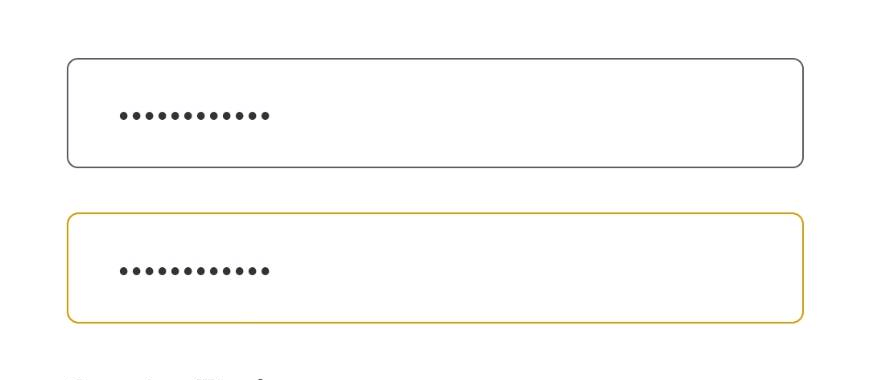
3. การกรอกรหัสผ่าน
4. ใส่ข้อมูลอื่น ๆ
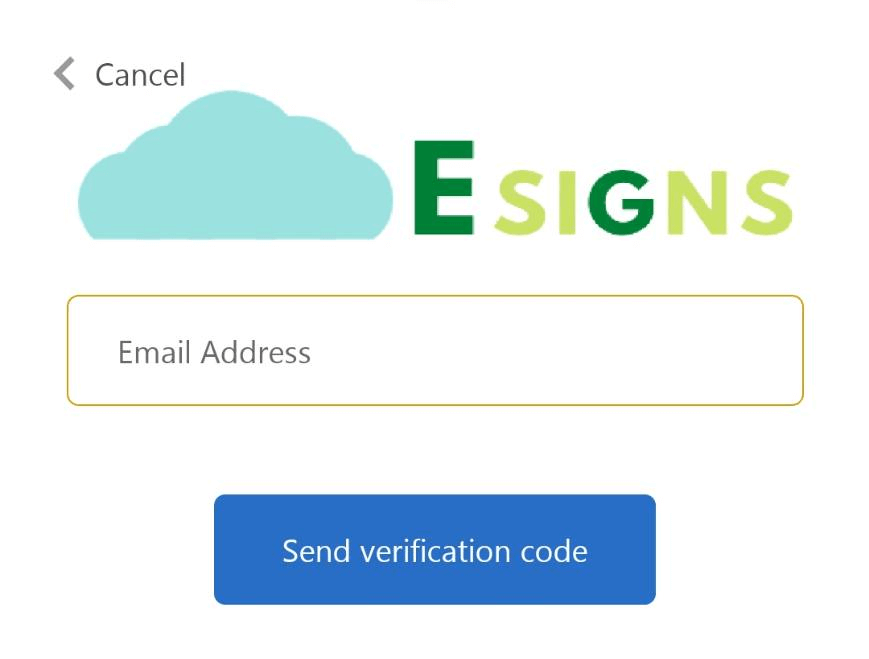
แล้วคลิกที่ปุ่ม “Send verification code”

จากนั้นเข้าไปที่อีเมลที่ทำการกรอกไว้ แล้วนำหมายเลขรหัส 6 หลักไปกรอกในช่องด้านล่างอีเมลดังรูป
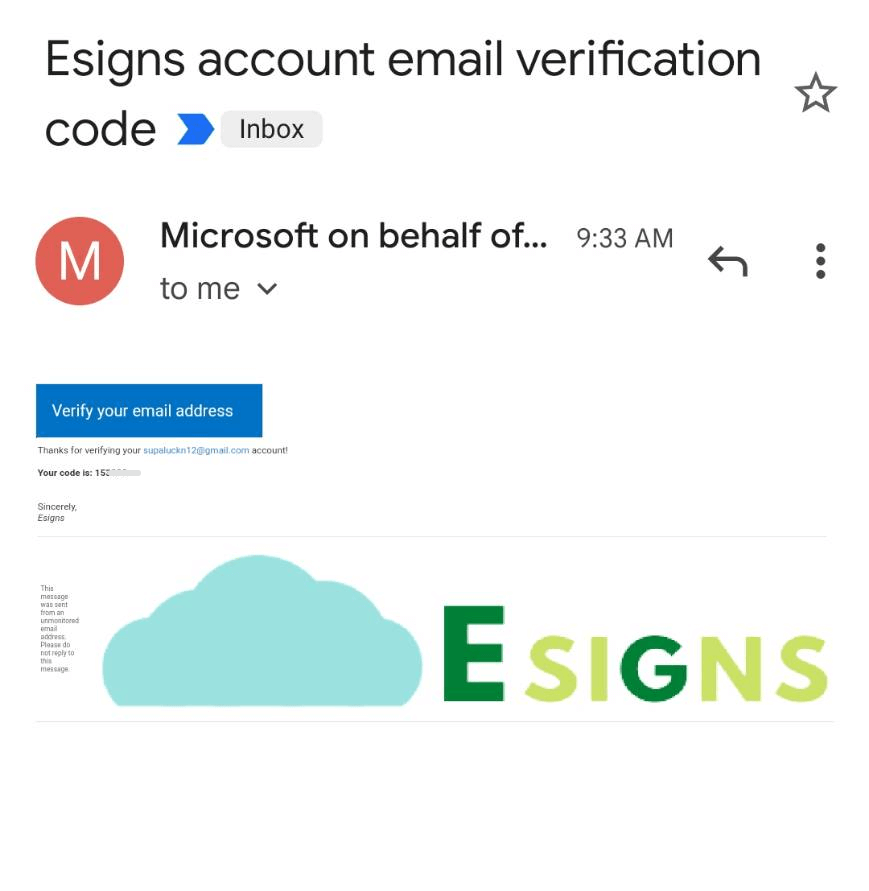
ข้อแนะนำ : เมื่อได้รับรหัส “Verify Code”ทางอีเมลแล้วควรนำรหัสที่ได้รับมากรอกใส่ข้อมูลทันทีแล้วคลิกที่ปุ่ม “Verify Code” ไม่เช่นนั้นแล้วรหัสจะหมดอายุได้ดังรูป
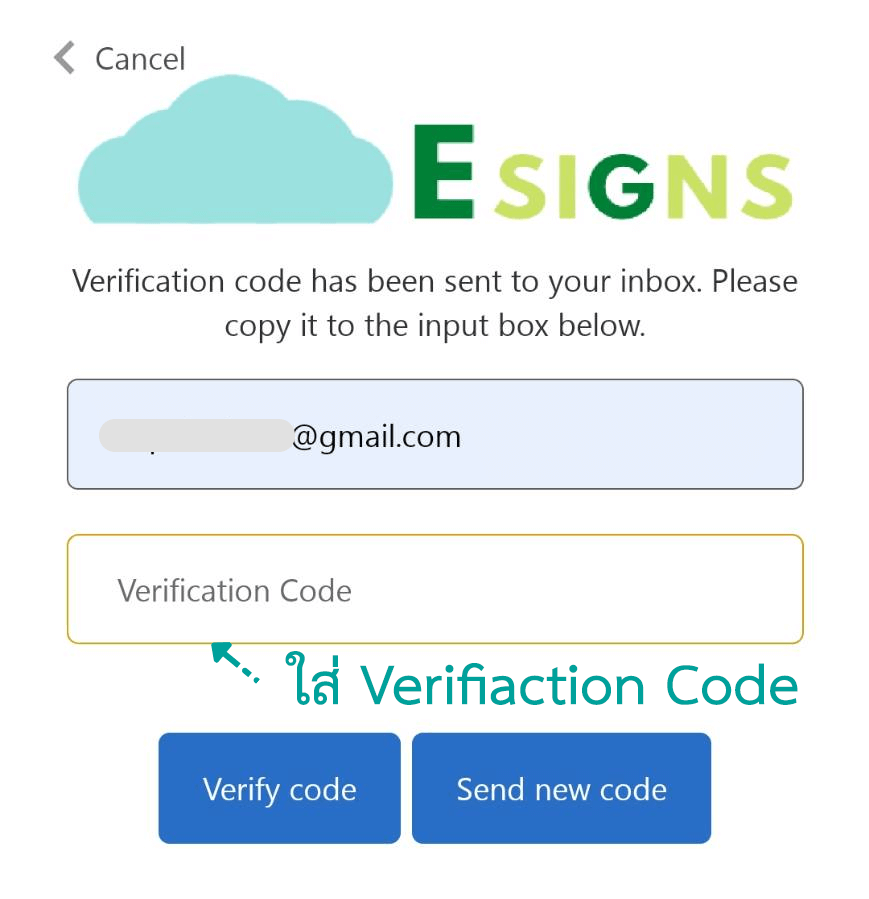
แล้วคลิกที่ปุ่ม Verify code

ในกรณีที่รหัสหมดอายุก็สามารถทำการส่งกดปุ่ม “Send new code”
หลังจากคลิกปุ่ม Verify code แล้ว จะพบว่ามีลักษณะปรากฏดังรูปด้านล่าง
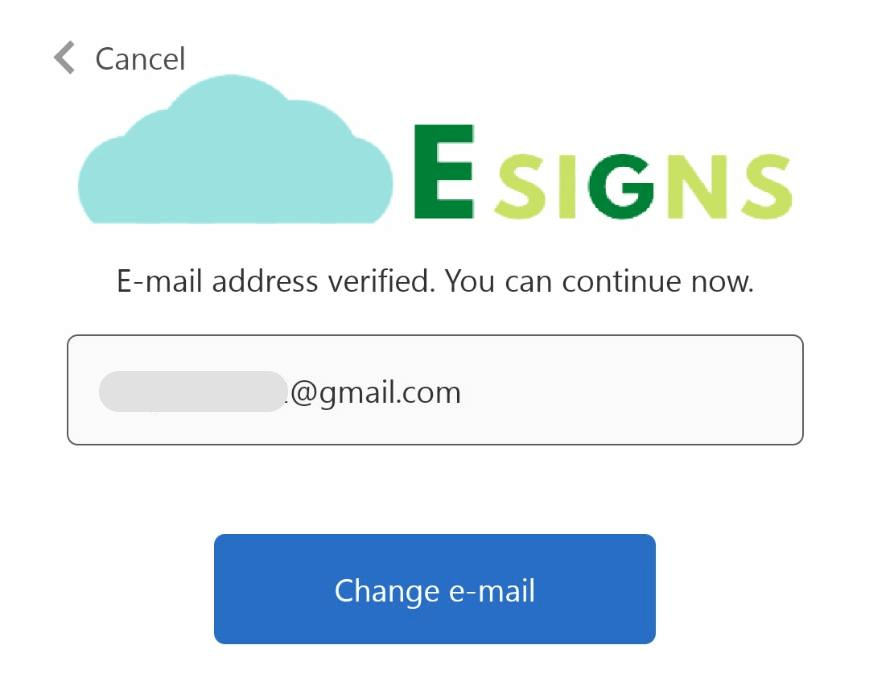
สามารถเปลี่ยนอีเมลโดยคลิกที่ปุ่ม Change e-mail แล้วทำตามขั้นตอนเดิม

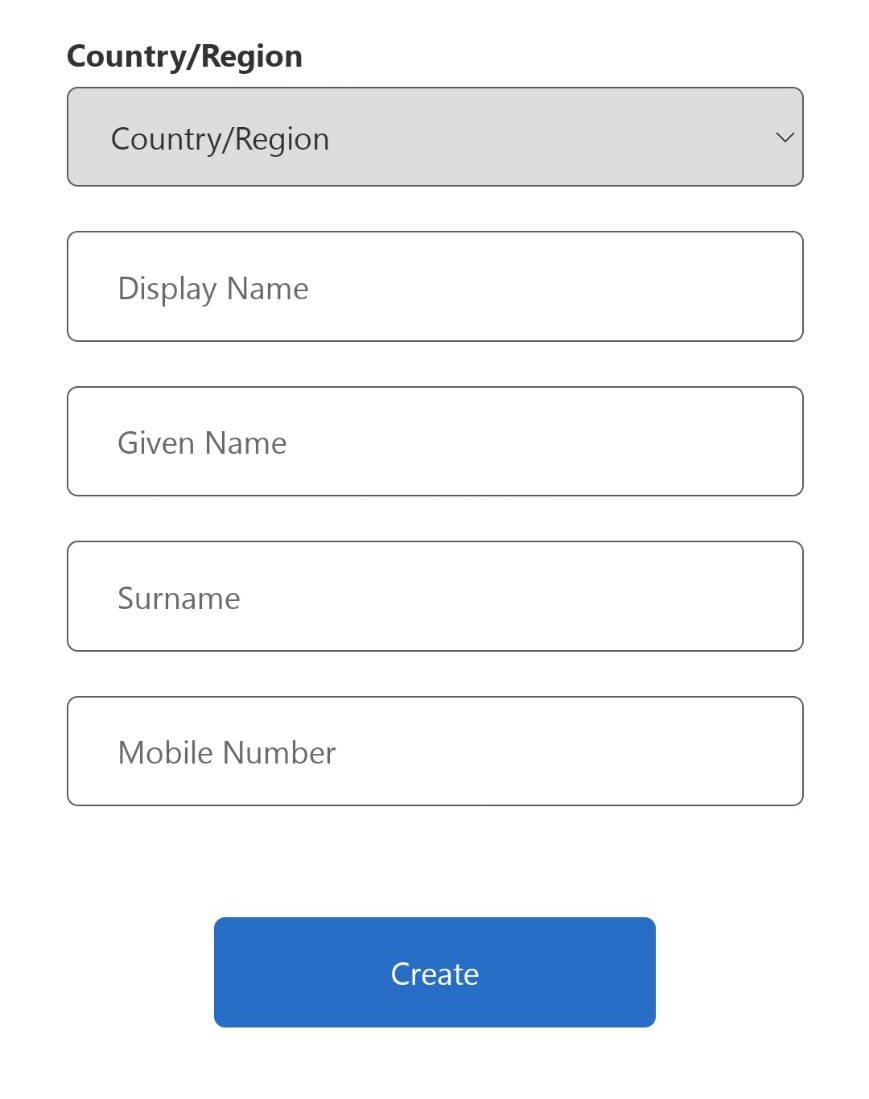
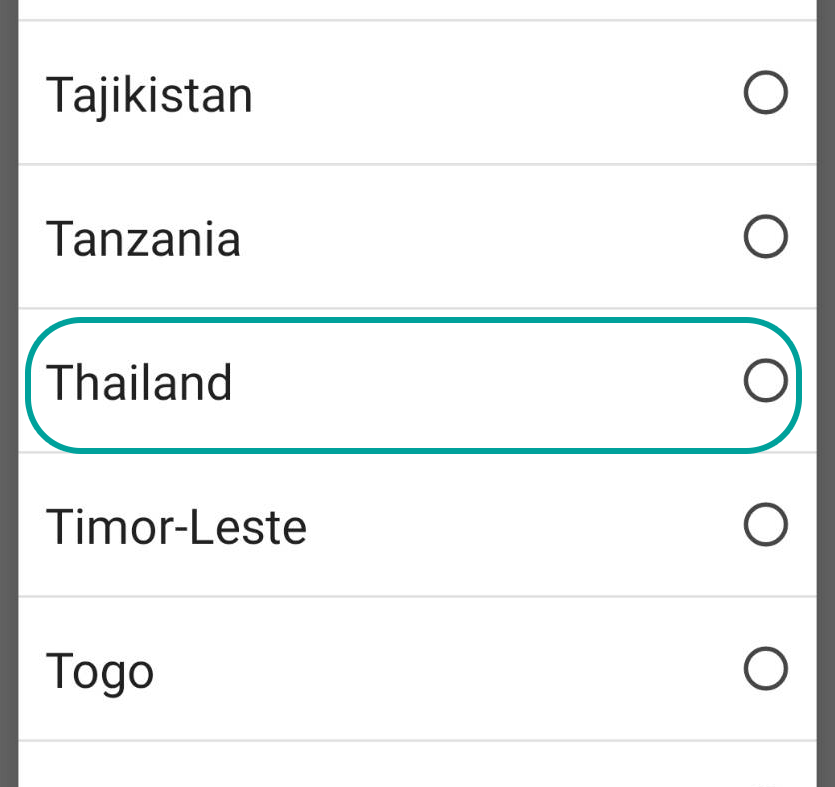
ในส่วนที่เหลือนั่นคือ “Display Name” ส่วนนี้หมายถึงชื่อที่ต้องการแสดง “Given Name” หมายถึง ชื่อจริง และ “Surename” หมายถึง นามสกุล และใส่เบอร์โทร ดังรูปตัวอย่าง
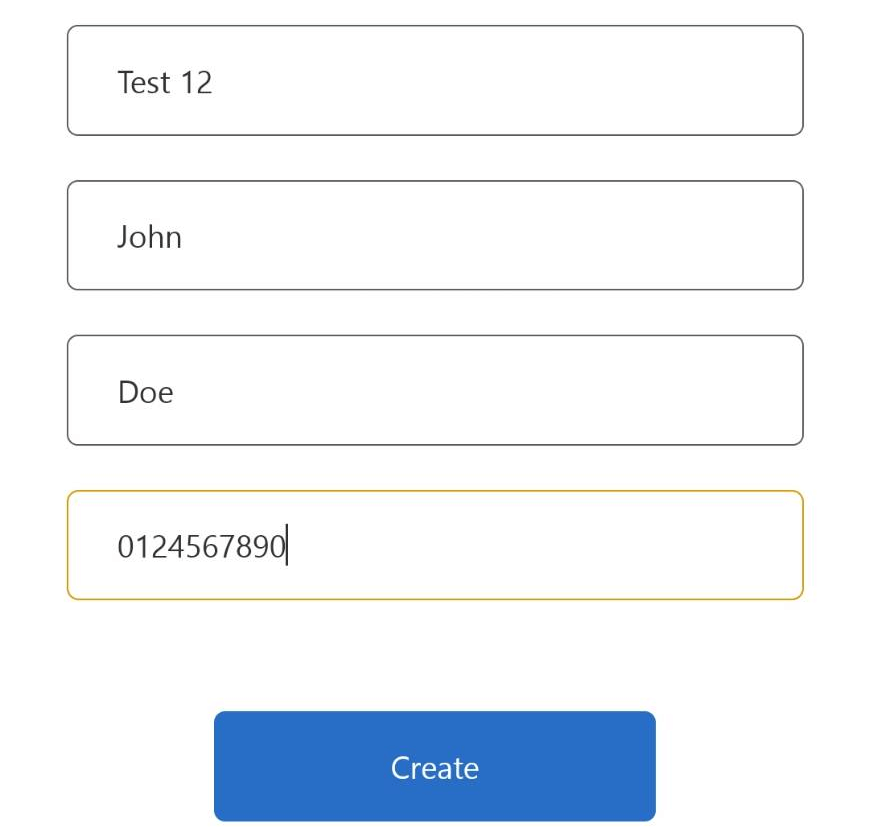
เมื่อกรอกข้อมูลเรียบร้อยให้คลิกที่ปุ่ม Create

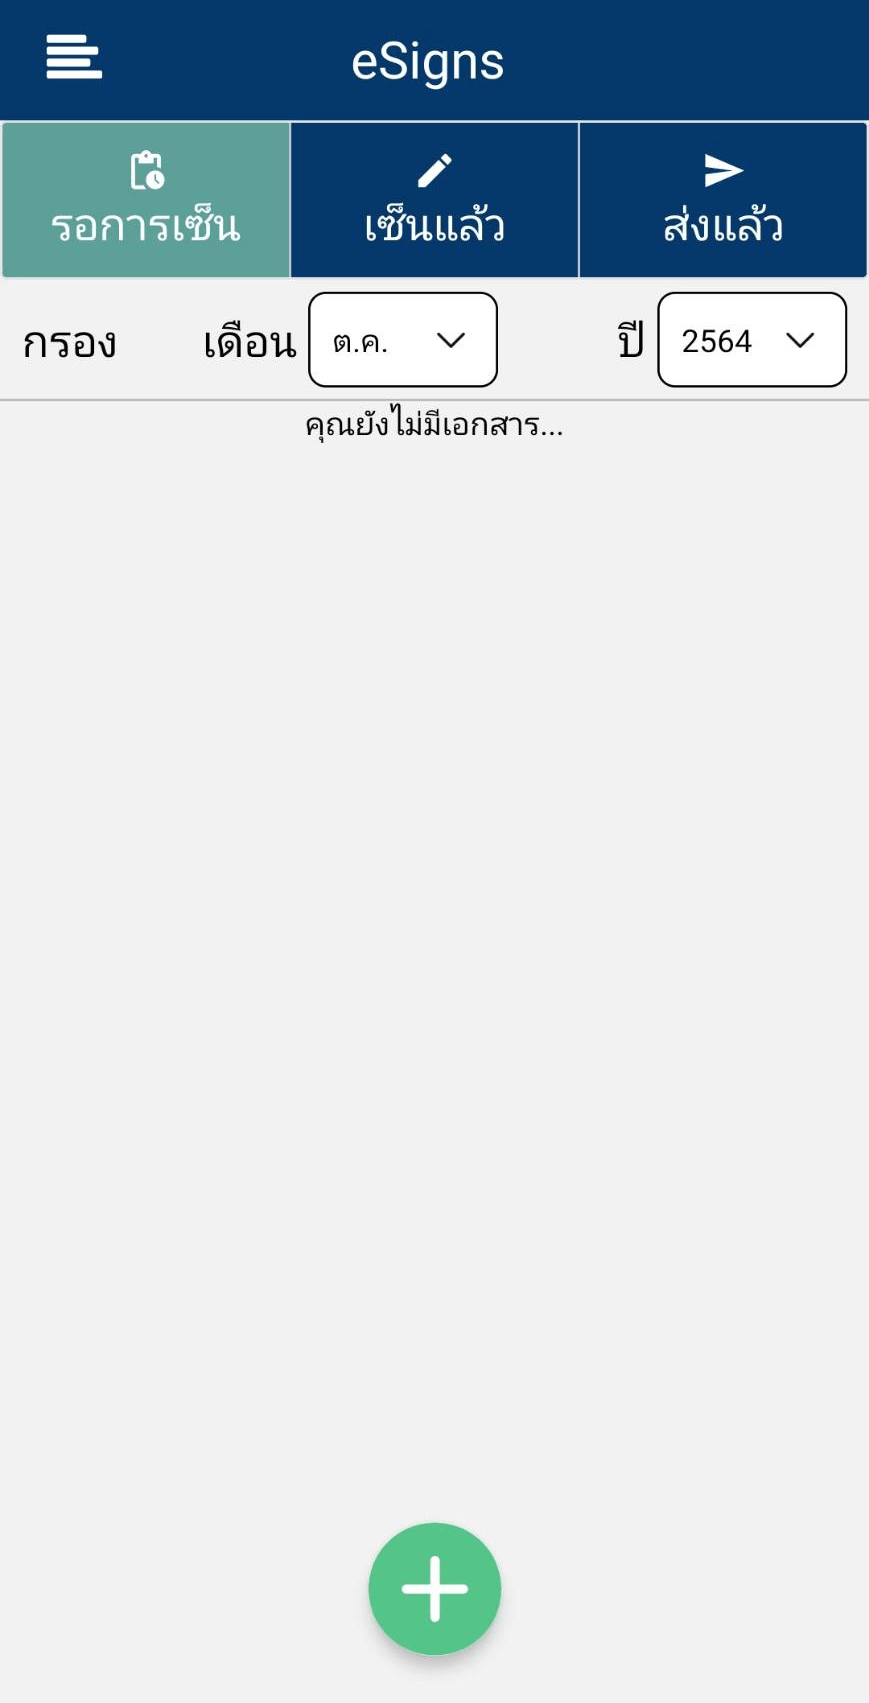
จากนั้นระบบนำมาสู่หน้าเมนูหลักของแอปพลิเคชั่น eSigns ดังรูป
